
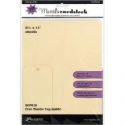
Hi Everyone! Today I have my project for the Funkie side of the Lacy Heartsy Valentine challenge over at Frilly and Funkie! Terry is our "hostess with the mostest" for this challenge and she has asked us to share Valentine projects that include a heart and lace. I used Tim's Sizzix Alterations Movers and Shapers In The Bag die and created these Valentine treat bags!
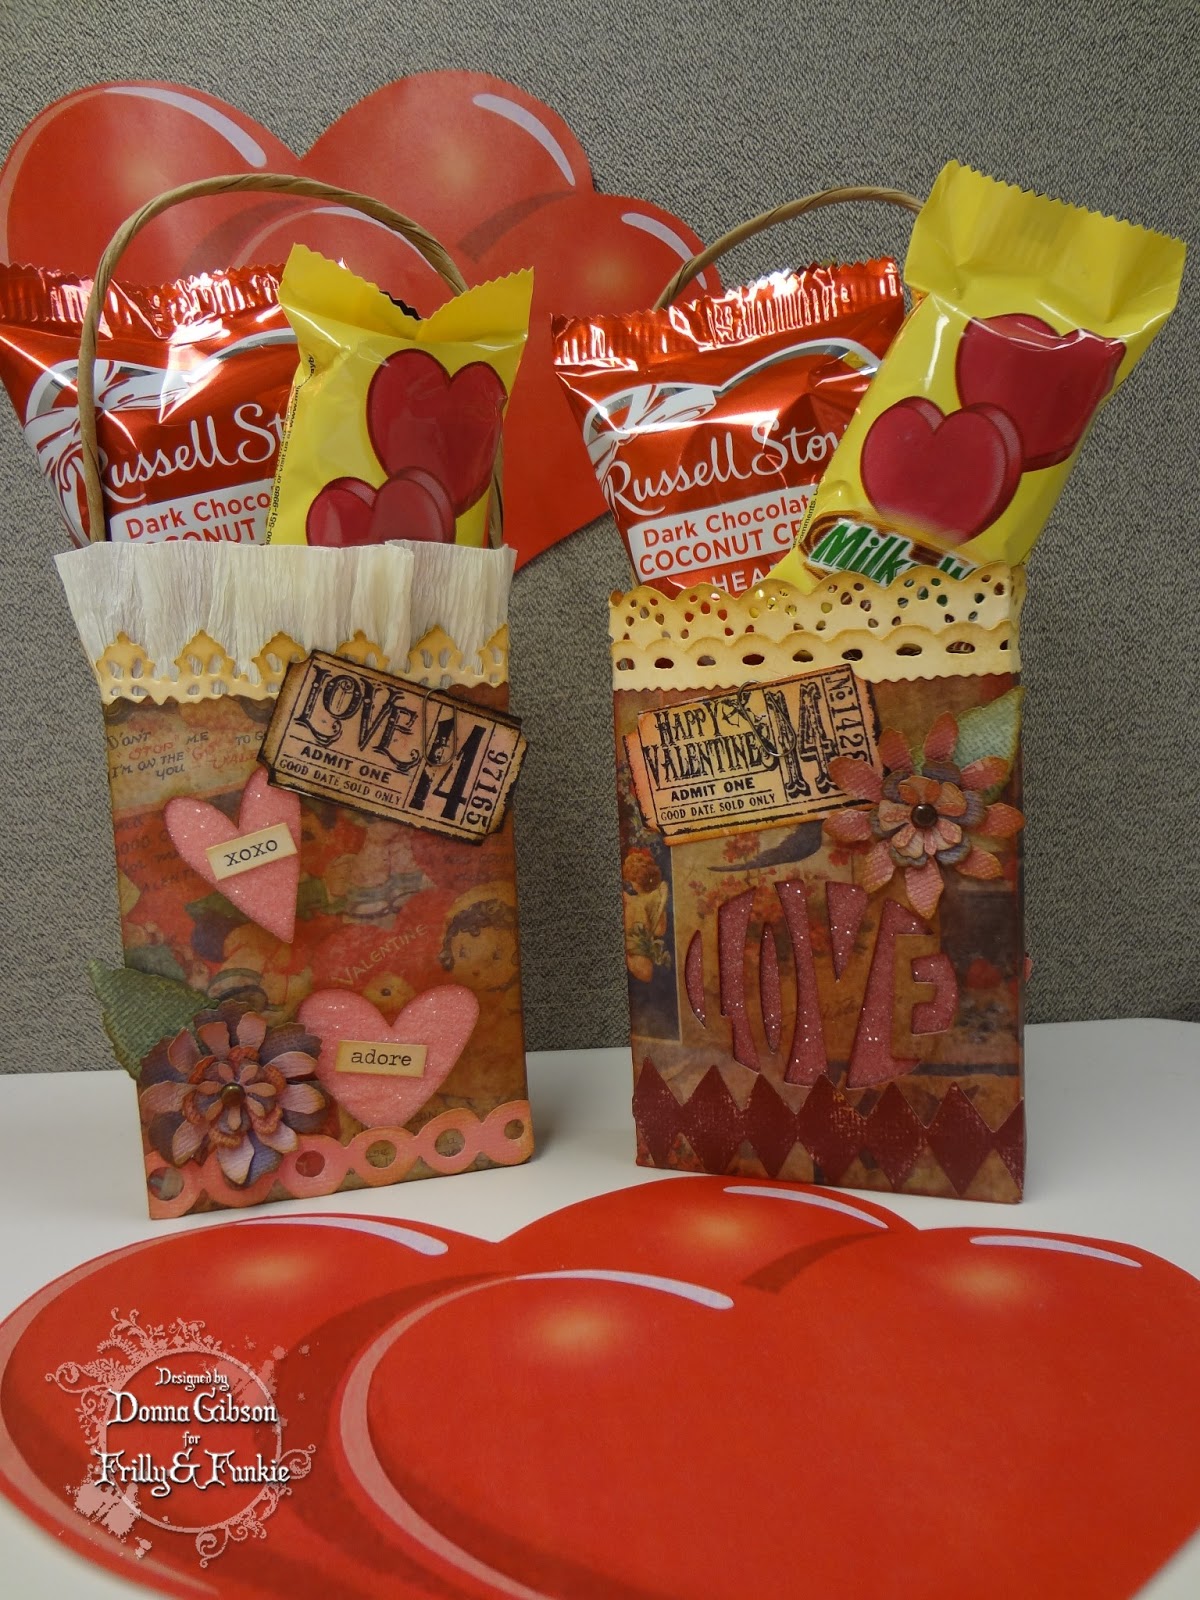
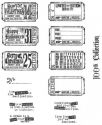
Front

Back
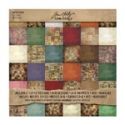
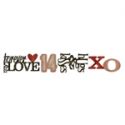
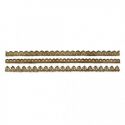
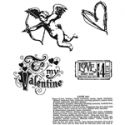
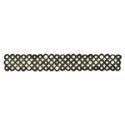
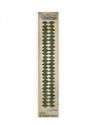
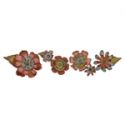
The bags were die cut with paper from Tim's Seasonal Paper Stash. I used the Movers and Shapers hearts and cupid dies to create the cutouts. I backed the cutouts with Distress Core'dinations paper that I 'glittered up' using Ranger Glossy Accents and the new Stickles Rock Candy Dry Glitter. Love that stuff! Then I embellished the bags with die cuts from other Tim Holtz Sizzix strip dies as well as some stickers. My lace is the beautiful Venise Lace Heart from the Funkie Junkie Boutique. I also included Melissa Frances crepe paper and strips cut from Tim's Vintage Lace die.

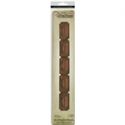
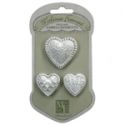
One of my favorite embellishments is this Melissa Frances resin heart. I painted it with the new Distress Paint in Victorian Velvet. Once it dried I wanted to highlight the raised areas and tried to use the Picket Fence distress marker but it didn't show up. So I put it aside and then when I picked it up again later the marker had dried white and it looked beautiful! I then remembered Tim explaining how the Picket Fence marker worked when I took his Creative Chemistry 101 class!
I hope you like my treat bags. I'll confess that one of the best things about this project is that I got to eat the some of the candy that I put in them for the photographs!! I purposely bought the coconut hearts because I don't like coconut and I gave them to friends that do like it. That way I didn't HAVE to eat all of the candy!
Thanks so much for stopping by! I hope you'll play along with us at Frilly and Funkie by showing us your lacy heartsy Valentine projects!
Thanks so much for stopping by! I hope you'll play along with us at Frilly and Funkie by showing us your lacy heartsy Valentine projects!
The following items that I used on my project can be found at The Funkie Junkie Boutique! The boutique offers it's merchandise at up to a 20% discount from the typical retail price! That's a great deal and you should check it out!!
 |  |  |  |  |
 |  |  | ||
 |  |  |  |  |
 |  |  |  |  |
 |  |  |  | |
 |  |  |  |  |


