Showing posts with label 12 Tags of 2014. Show all posts

Friday, December 19, 2014

12 Tags of 2014 - December

Happy Friday Everyone!  I'm here to post my final tag for Tim's 12 Tags of 2014!  I actually made all twelve tags for the first time EVER!!!

I really liked the tag that Tim created for this month.  I have the previously released Reindeer Flight die but not the new Prancing Deer.  I thought about using the older die and creating some antlers with the Branch Tree die but I decided to use the new Angelic die instead and I'm really glad I did!

Here's my tag...

 
I attempted Tim's method for the background on the tag but it didn't work out for me.  I don't have the distress stain sprays so I used Perfect Pearls for the metallic spray and it didn't mix well with the distress paint and my homemade Mini Mister spray stain.  The tag remained sticky after it had dried and it was a little brighter than I liked.  I'm sure there's a lesson on that somewhere in the Creative Chemistry 102 class!!  Although I've paid for the class I haven't watched any of the content so I found out the hard way!!  I went back to the drawing board and created the background by misting the tag with water and then swiping it through Faded Jeans and Brushed Pewter distress stains.
 
The rest of the tag was made based on Tim's tutorial.  I used the Starry Night embossing folder on the Frosted material.  The angel was painted with Antique Linen distress paint. I added Mustard Seed distress glitter to her wings for some extra bling. The trumpet was painted with a Ranger Adirondack Metallic Gold paint dabber. If I had it to do over I probably would have painted her wings with the gold paint instead of using the distress glitter. I sprinkled the rock candy distress glitter on using my thumb and index finger (similar to the way you'd add a pinch of salt to a recipe) since I don't have that type of tea infuser. Walnut distress ink was then used to tone everything down.  Originally I was going to use the word "Joy" on the tag because that's what this angel represents to me. But it didn't seem like enough so I chose "Peace on Earth" and added the Joyful muse token.
 
I'm totally impressed with myself for taking the time to do the actual sewing instead of stapling the Frosted to the background.  I think it's a first for me!  It only took two minutes since my sewing machine was already threaded with the right color of thread.  Had it not been I might not have done it!  It's also a little uneven because I was under the influence of pseudoephedrine for a sinus headache and my hands were shaky!
 
The Industrious Border sticker was in my possession thanks to Paula Cheney as it was in the Collection Folio class kit from her recent teaching trip to Whim So Doodle!  The Frosted material was graciously supplied to me by my good friend Sue. She shared part of the package she bought when we met to take Paula's classes. Thanks Sue!  Sometimes it takes a village to make a tag!
 
And there you have it!  The final tag for 2014!  This will probably be my last post for this year so I want to wish all of you Happy Holidays and may the New Year bring you joy, health and lots of love!
 
Thanks for stopping by!


Saturday, November 29, 2014

12 Tags of 2014 - November

Just popping in to post my November tag for Tim's 12 Tags of 2014.  I don't have the die/embossing folder combo that he used so I've been mulling over what and how I could do to make this tag.  Since month-end is looming I figured I better just get it done!  I decided to use the Tattered Leaves embossing folder and no die.


Here's how I did it!

I followed Tim's instructions up until the point where you have to die cut the corrugated cardboard.  At that point I matched my tag up with the tag-shaped corrugated cardboard and slipped in into the embossing folder.

I lined up the embossing folder image with my already embossed tag and then pulled out the tag leaving the cardboard in place.


I ran the folder through my big shot and embossed the design onto the cardboard.

Then I used an exacto knife to cut out the leaf shapes.


Done!

It doesn't quite match up perfectly but it's good enough for me!  At this point I followed the rest of Tim's steps.  I used a different walnut stain spray and bronze Perfect Pearls mist since I also don't have the distress stain sprays.  Here's the end result!
 
It's a great feeling to make do with what you have on hand.  I'm determined to make all 12 tags this year and I'm happy that I got this one made in time.  One more to go!!!

Wednesday, October 8, 2014

12 Tags of 2014- October

I love Halloween so I couldn't wait to have some crafty fun with this October tag for Tim's 12 Tags of 2014!  I don't have the Carved Halloween stamp set that Tim used so I used my favorite image from the new Halloween Blueprints 3 set.  I love any type of check, diamond or dot print so the black cat from this set is my favorite!


I first stamped and watercolored the cat image with the front half purple and the back half green.  After I finished I decided it would look better the opposite way so that is what you see here.  I had to put my spider on the other side of the tag because of the shape of the cat.  I don't have any of the new distress sprays so I created my own using the Distress reinkers and water in the Ranger Mini Mister bottles.  It worked great!  I'm sure the concentration might be different but that's the beauty of making your own distress sprays!  They can be as intense or subtle as you like!  I spritzed the tag with Perfect Pearls Bronze as a substitute for the bronze distress spray.

I used the Idea-ology Alpha Tiles to spell out "EEK".  The "monocle" that I used is actually an optical lens that I've had in my stash FOREVER!  It's larger than the Idea-ology monocles so I had to take remove the hinge clasp from the Idea-ology watch chain to shorten it so that the monocle wouldn't cover the spider!  I noticed that the picket fence distress paint was rubbing off the backside of the monocle after it dried so I coated it with a thin layer of Ranger glossy accents.  That seemed to do the trick and seal it from rubbing off any further.

Love this tag!  And, as usual, I made a second one to share!


Thanks for stopping by!  I hope you'll take the time to play along and make a tag as well!

Tuesday, September 30, 2014

12 Tags of 2014 - September

Popping in to quickly post my September tag for Tim's 12 Tags of 2014!  I had other ideas for applying his technique but since I waited until the last day to do this I had to go with copying his tag.  I LOVED his tag and would have made at least one just like it, anyway, in addition to my other idea.  Anyhoo, as usual I made two so I have one to give away.


I used Willow alcohol ink on my background because I didn't have Lake Mist.  It was a little dark so I put some alcohol blending solution on a piece of felt and wiped it across the surface of the glossy paper and that took off some of the color leaving me with a lighter background.  I used the Botanical Remnant Rubs that Tim used on one of my tags and Life Quotes on the other.  I probably should have more butterflies on each tag but in my haste I made two tags and only one strip of colored paper so I had to spread them out!!  I didn't apply them in the rainbow pattern but added them randomly.  All-in-all it's still a very pretty tag and I loved getting out those alcohol inks!

Also, a big shout of thanks to Cheiron over at Cheiron's Crafty Life!  She held a giveaway back in July and I was the lucky winner of the Daydream stamp set used on this tag!!  Be sure to visit her blog.  She designs for Hero Arts and the Simon Says Stamp Challenge blog and her work is fabulous!!

Thanks for stopping by!

Sunday, August 31, 2014

12 Tags of 2014 - August

Bringing up the rear again with the August tag for Tim's 12 Tags of 2014! I made it last night and only needed to add the rusty embossing today but got so caught up in home projects that I almost forgot!

I used a different color scheme and images from the French Marketplace and Visual Artistry City Central stamp sets.  I used the tiny attacher on the film strip, instead of the sewing machine, and I added tiny little photos from the Lost and Found paper stash.  I wish there was an entire sheet of these little photos.  But there's just four strips on one of the pages in the back.  I've been saving them and decided it was time to use them!

I didn't have Vintage Photo distress embossing powder so I mixed Tea Dye with some dark brown regular embossing powder that I have.  It's a little shiny but it did the trick!

I really like the bright colors! And I added some distress glitter to the heart!


And as usual I made one to share with a friend!


Thanks so much for stopping by!  I hope you were able to play along with Tim's tags this month as well!

Wednesday, July 9, 2014

12 Tags of 2014 - July

Hey Everyone!  Hope all is well in your corner of the world!  I'm here with my July tag for Tim's 12 Tags of 2014 and it isn't July 31st!!!

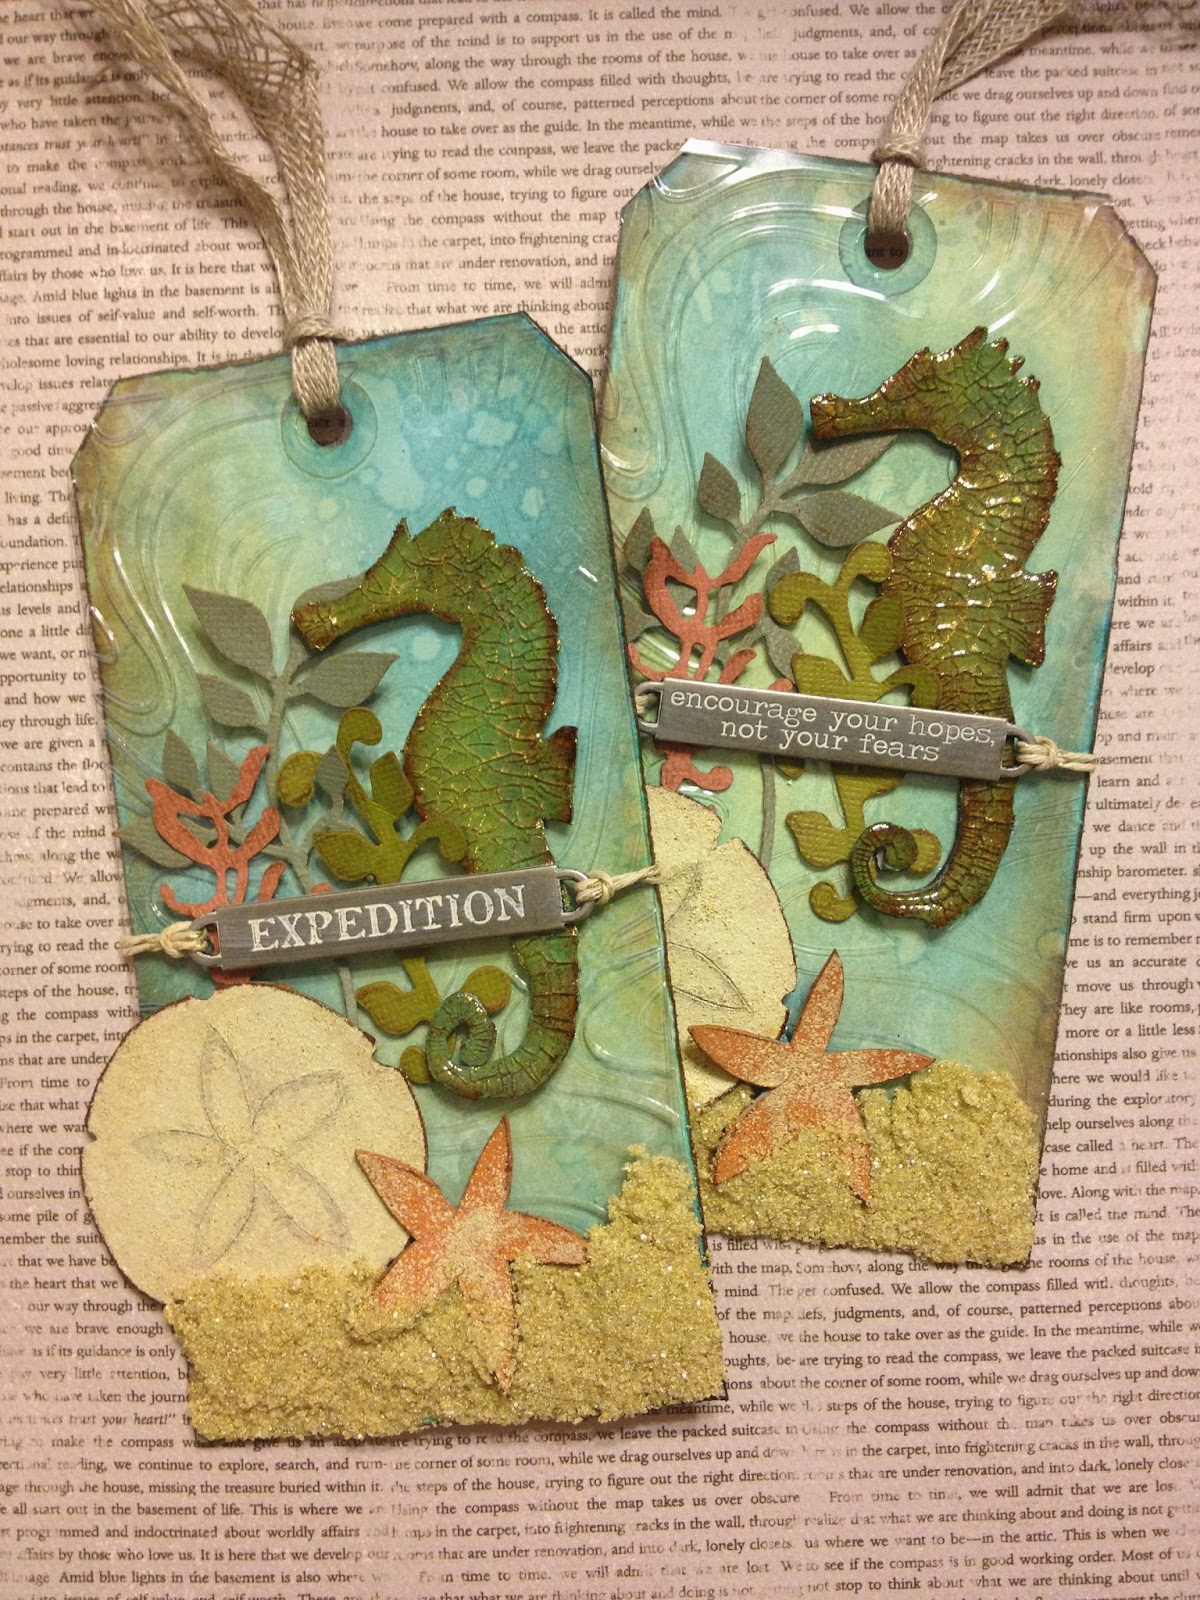
I was really excited about making this tag but didn't have any of the dies, or the embossing folder, that Tim used.  I did, however, recently acquire the Stampers Anonymous Nautical Blueprints stamp set so I decided to make do with what I had on hand and soldier on!!

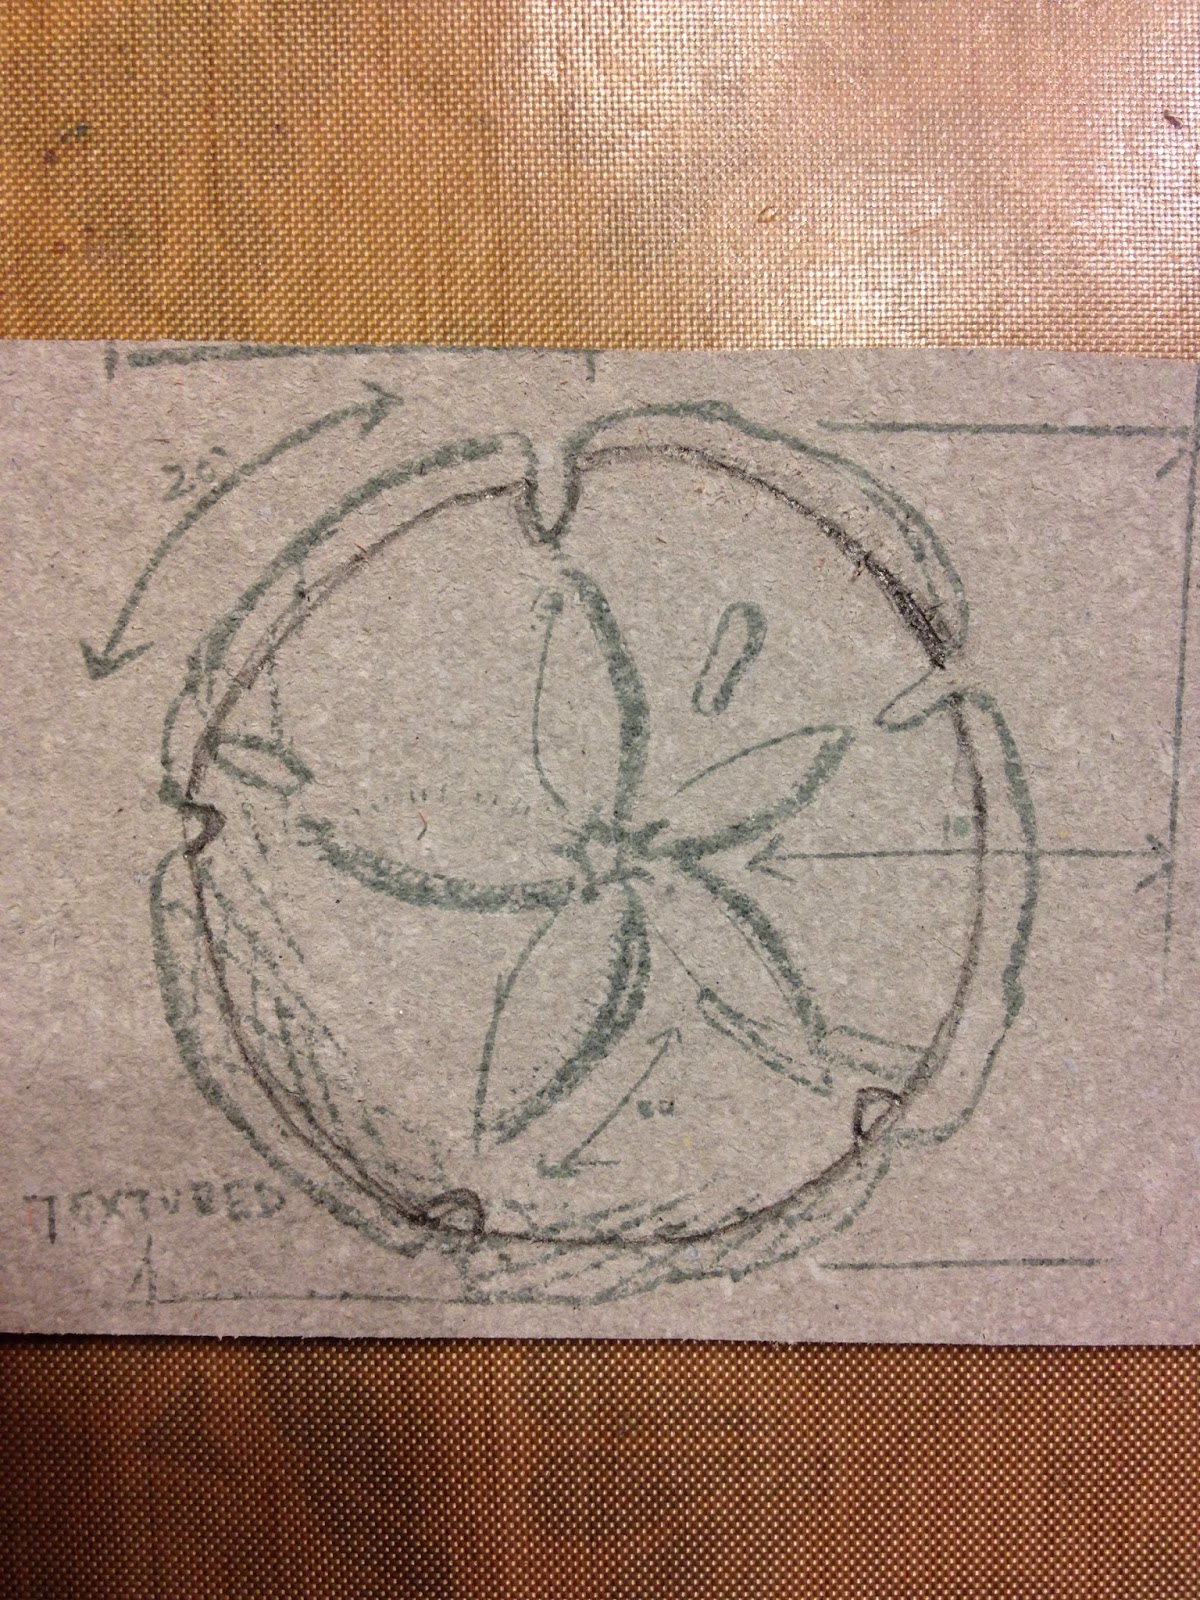
To start I stamped the Nautical Blueprints sand dollar and sea horse images onto grungeboard.


The sand dollar is a little bigger than the diecut shape so I traced around the inside of the stamped line with a pencil to and cut it down smaller.


Then I used my exacto knife to score the center so that it would show up after painting.

 
I stamped the sand dollar a second time and cut the star out to make the starfish.


And here are my sea horses after cutting.  The stamped image is more detailed but you won't see the stamped lines after the surface techniques so you don't have to cut it that precisely.


And here are the finished pieces after following the surface techniques in Tim's instructions!!!  Not that much different than if I had used the dies!  Of course, it certainly would have been easier with the dies!


I used an embossing folder from the Retro Cirque Texture Fades set that I thought looked like waves.  The seaweed greenery was cut from a couple of other dies that I have including Tim's Festive Greenery strip die.


And there you have it!  One to keep and one to share.  Wow, having this tag finished so early in the month makes me feel like I'm way ahead of the game!  Oh, if only that were true!!

Thanks for stopping by!
Friday, June 13, 2014

12 Tags of 2014 - June

Just popping in to post my June tag for the Tim Holtz 12 Tags of 2014.  I used the Harlequin layering stencil and the recently released Stamper's Anonymous Big Top stamp set.  I really enjoyed 'printing' with the stencil and look forward to trying this technique with my other layering stencils.

My favorite part is the two diamonds to the left of the juggler that came out as pink and orange spots!!  It looks like I had too much water on the right side though.  And I need to improve on dying my crinkle ribbons!  I think I'm working them too much causing the colors to get muddied together.

 
I colored the juggling clown with distress markers and a water brush.   Cutting out the little balls was tedious but worth it!  I added some Ranger glossy accents to the balls, the base of the drum and the little buttons on his costume!  I love that Big Top stamp set!  It's great fun!


Monday, May 26, 2014

12 Tags of 2014 - May

I'm back with another post today for my version of Tim's tag for the month of May.  The tag that you see here isn't the one that I originally began putting together.  Before the background tag was inked I had picked out a different set of trinkets and a different ShadowPress folder.  But then something Magical happened!

I wanted my background tag to be a little more colorful so I started by running a light coat of Antique Linen distress stain over the tag and then drying it with the heat tool.  Then I used Peacock Feathers and Salty Ocean DI with the Bubble layering stencil.  I inked around the edges of the tag with Squeezed Lemonade and Brushed Corduroy DI using an ink blender.  Then I splattered water droplets over the tag and dried the entire tag again with the heat tool.  And that's when the tag took a different direction!  As the water droplets dried I watched this little shape emerge...


Any idea what it is??!!  Those of us who frequent that Happy Place, known as Walt Disney World in my part of the country or Disneyland on the other side of the country, will know it as a Hidden Mickey!!!  If you're not familiar with this there is a published book that documents the many occurrences of the Hidden Mickey's that can be found at Walt Disney World and Disneyland!  Once I saw it on my tag I knew I couldn't cover it up!  I also knew that I had to change the theme of my tag to go along with it.  So here's the tag that I ended up with...


The Good Times shadowpress folder along with the word band and muse token definitely speak to the good times and fun that I've share with my friends and family when we visit the theme parks at Walt Disney World!  It's one of my favorite places to go (except during the hottest months of the summer!) so I added the heart adornment that I colored with Red Pepper and Pearl alcohol ink.  The enamel tag was tinted with Latte alcohol ink and then I embellished it using a phrase from the Words rub-ons.  Most importantly the arrow from the Industrious stickers highlights my very own Hidden Mickey!

Needless to say this is now my FAVORITE tag of the year!  Thanks for stopping by!

Wednesday, April 30, 2014

12 Tags of 2014 - April

Hello everyone in blogland!  Quickie post here to get my April tag up and linked to Tim's page.  I just finished it!  I changed up the colors a bit.  The tattered pinecone die and I don't get along very well as you can see by the state of my "roses"!  I'll have to practice that some more.   I also discovered that the little trellis framework pieces aren't identical so they're not that easily interchangeable.  Something to keep in mind when I use the die the next time!  I pulled the die cuts all apart and put them in a pile not realizing this!

So here's my tag...


And the best thing about waiting until the last day of the month to post the tag?!  I only have to wait one day to see the tag for May!!!
 
 
Take care and thanks for stopping by!

Monday, March 31, 2014

12 Tags of 2014 - March

Nothing like waiting until the last minute to post my tag!  I almost didn't make one when I realized yesterday that I only had one more day to get it done.  But I really wanted to keep up with the tags this year so I was able to get it finished today in between appointments!


As was the case with the last two tags there was a lot of improvising here!  I didn't have most of the products that Tim used with the exception of the Distress Ink!!!  The bird stamp is from the Stampers Anonymous Urban Tapestry set.  The feather stamp was created using a technique from Compendium of Curiosities Volume 2.  After die cutting the feather I made some extra cuts so that I could straighten in out before stamping.  The egg and Fig. stamps are from Red Lead and Rubber Baby Buggy Bumpers, respectively.  I used the ink blender with the stencil for the background pattern instead of the Distress Marker Spritzer.

After I had stamped the first two images I wasn't really very happy with it.  However, I kept at it and once all of the details and layers were added it looked much better!

So there you have it...another month, another tag!

Thanks for stopping by!

Wednesday, February 26, 2014

12 Tags of 2014 - February

In keeping with my resolution to make all 12 tags this year I'm sharing my take on Tim's February tag.  I almost forgot to about it...realizing just yesterday that I only had until this Friday to get it done.


I tried the chalkboard technique that Tim used on his tag and it just didn't work for me so I used a different chalkboard technique. I read his instructions again and can only figure that I'm heating the embossing powder for too long. I'll give it another try but might not have time before Friday.

This tag involved a lot of improvising. I didn't have the new stamps, or the Industrious Stickers, so I substituted there.  The stamp is from the My Favorite Things-Chalkboard Greetings stamp set.  I embossed it in white and then rubbed Ranger Adirondack Snow Cap pigment ink into the background with my finger.  I edged it with a chalk marker.  The arrow is from Tim's Sizzix Bigz Love Struck Die.  The border is from Tim's Sizzix Decorative Strip Vintage Lace die.  Both were cut from manila cardstock covered with aluminum tape and then distressed with a combination of Ranger Latte alcohol ink and Snow Cap alcohol ink mixative.  I also added the Ideaology Philosophy Tag and Wire Pin.


Another habit I'm trying to get into is making two of everything.  It usually doesn't take much more time, since all of the supplies are already out, and that way I have one to keep and one to share!
 
Have a great day!

Tuesday, January 28, 2014

12 Tags of 2014 - January

It's a new year and time for a new tag!  I hope that completing the first tag of the year will create the momentum needed to get all 12 tags done this year...something I've never done!  So here's tag #1...


The background text not perfectly straight creates an illusion that the picture is crooked! How strange!

Anyhoo, I really liked Tim's tag but wanted something more colorful so I took that route with my background using Picked Raspberry, Spiced Marmalade, Peacock Feathers and Seedless Preserves stains instead of Pumice Stone.  The black ink over the stencil, and the pocket watch, covered up a lot of the color but I'm still happy with it.  I used chit chat stickers that express things I want for myself this year and a sentiment to complement those words!  Looking at it now I wish I had made the pocket watch a color...maybe Seedless Preserves or Peacock Feathers!?  I might have to try that.

I really enjoyed working with the pocket watch die and have ideas for some other projects!  I hope to get back to regular blogging and blog visiting...having neglected both over the last 6 months! Thanks so much for stopping by to see what I'm up to.  I hope you get to do something crafty soon!